Browsed by
Tag: antenna

WIP: Cantenna

WIP: Cantenna

This shows step by step how I made a Cantenna. This is a simplified tl;dr version of “How to build a tin can waveguide antenna” by Gregory Rehm.
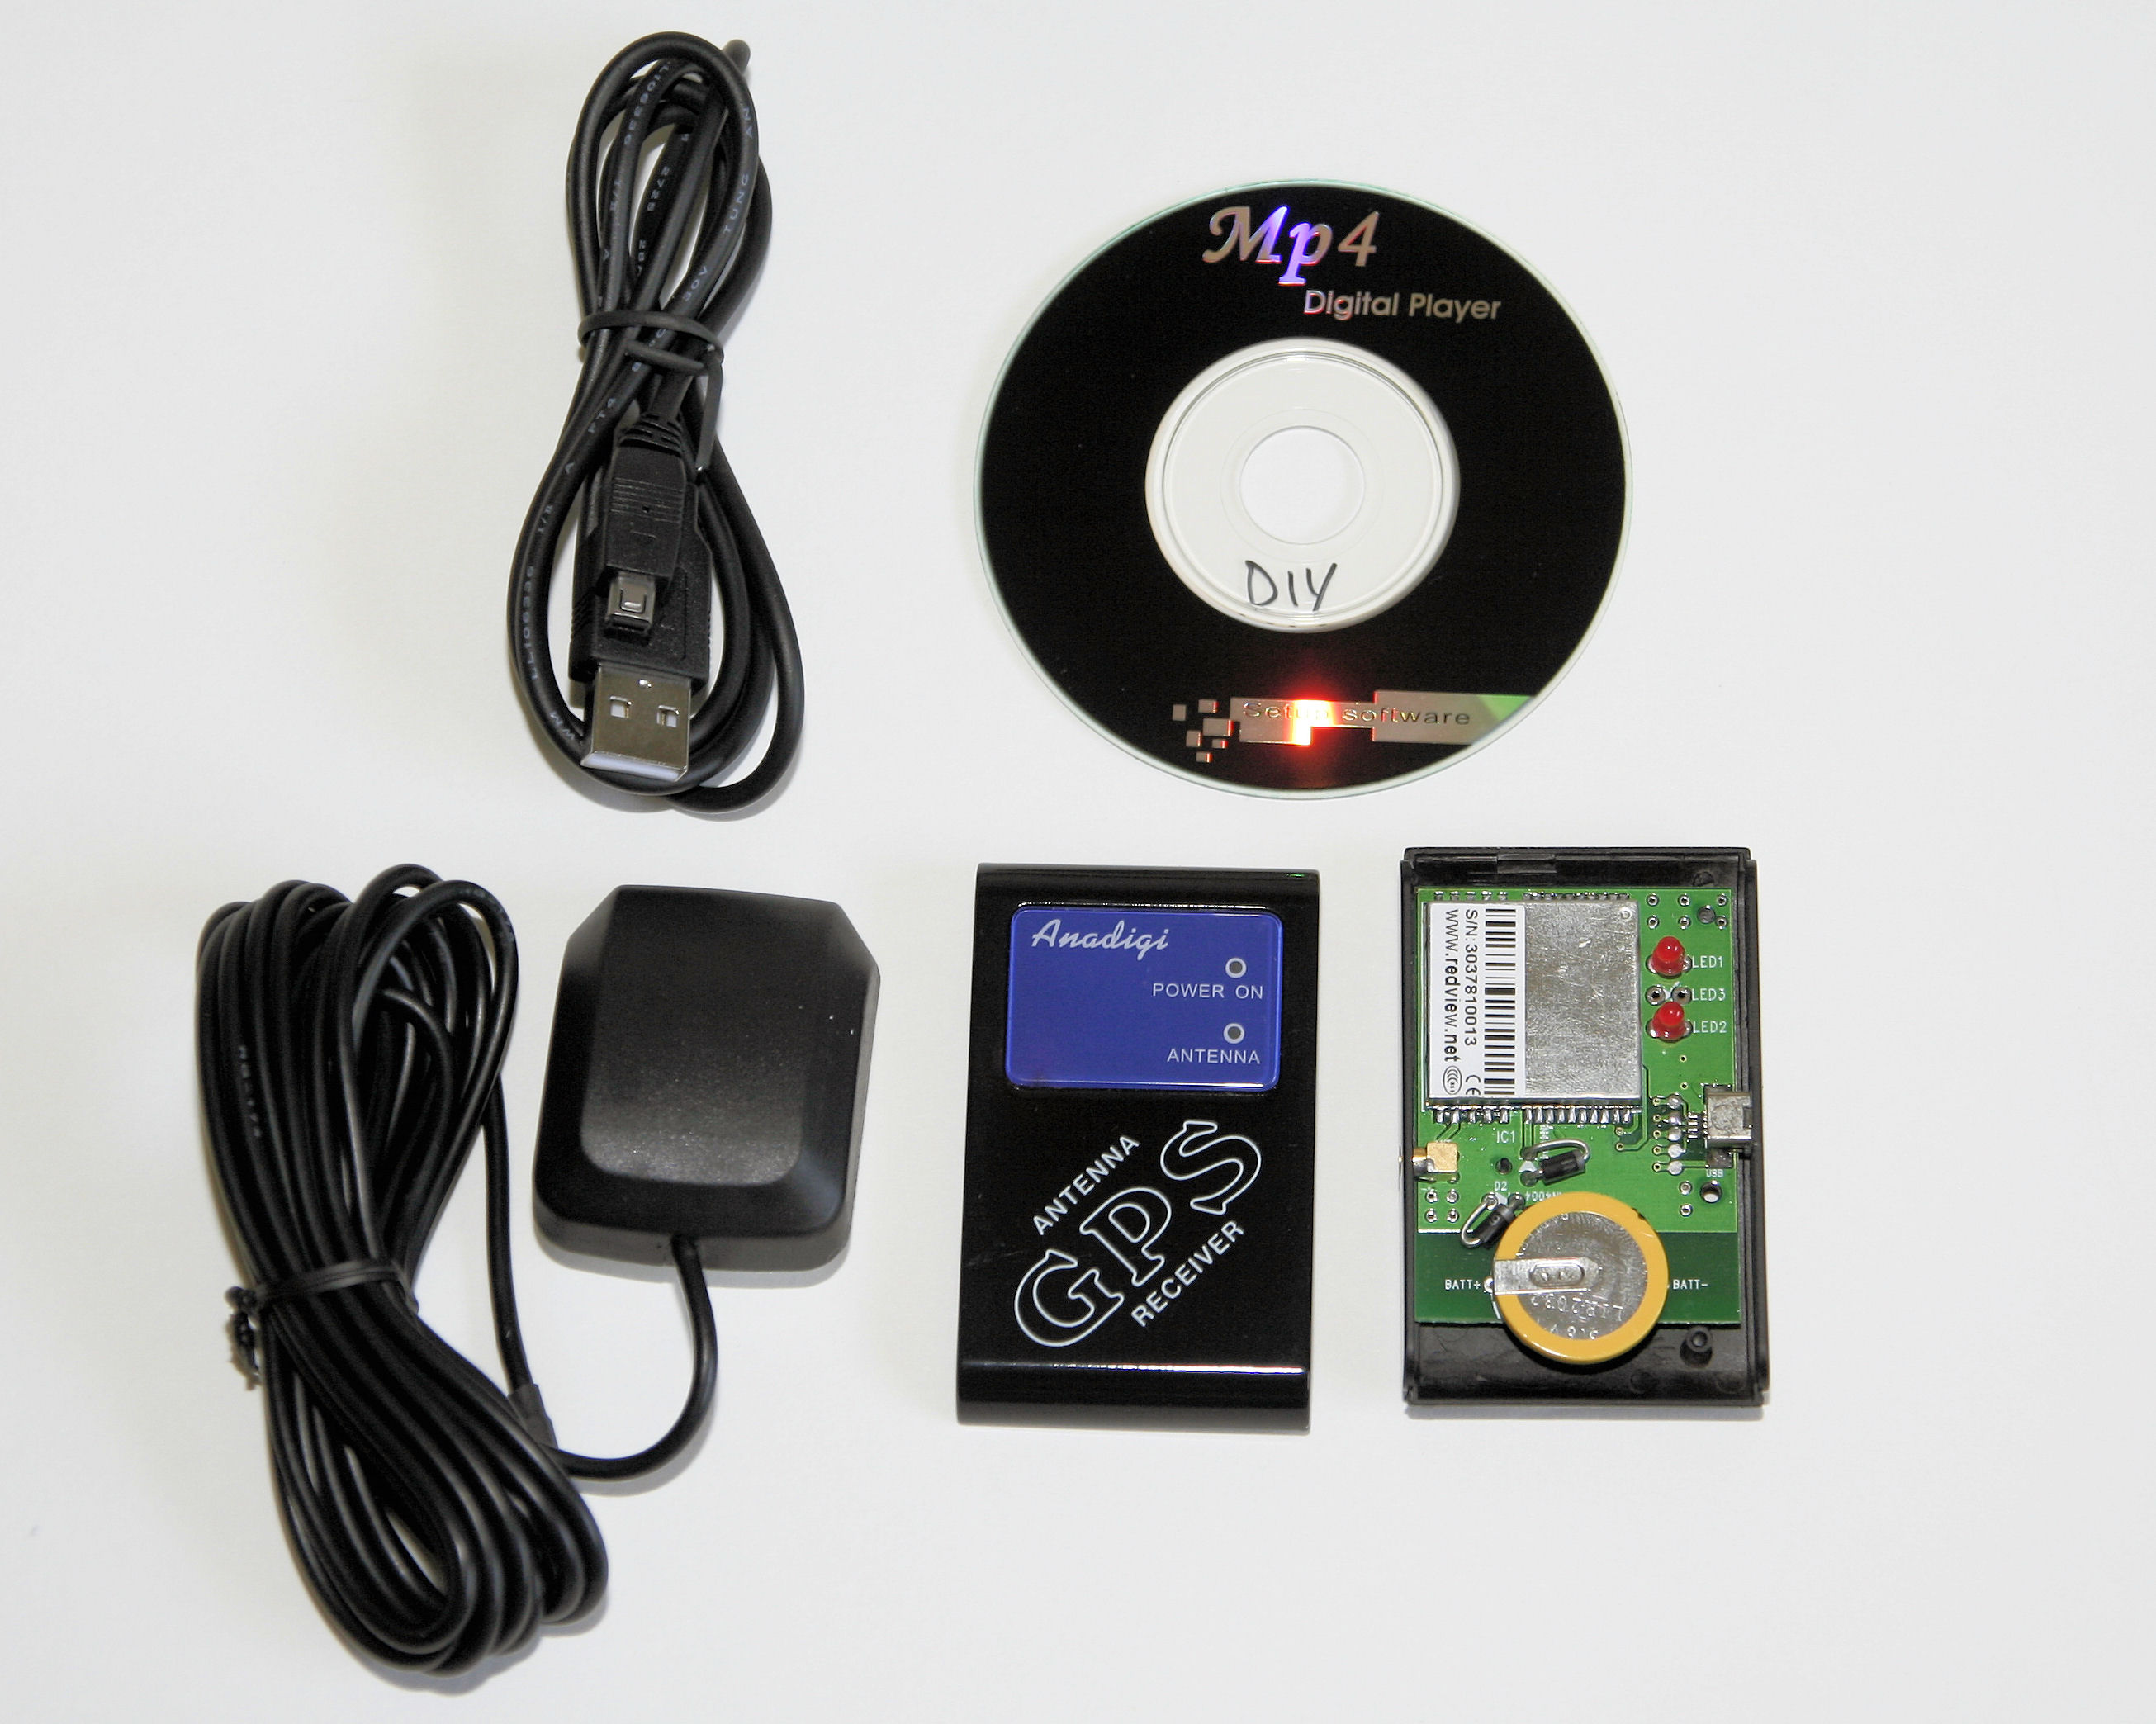
Materials:

  • 1x Can, washed (hapi HOT Wasabi Peas [450g])
  • 1x N-type, Female Chassis-mount connector (Digikey# 367-1081-ND)
  • 1x Piece of copper wire
  • 4x Nuts & bolts

Prep:

  1. Measure diameter of the can -> 3.9″
  2. Calculate wavelength using waveguide calculator found here.
  3. Mark a point 1/4 Wavelength up from the bottom (closed) side of the can.
  4. Measure the hole to be cut (diameter of part of the connector that will be going inside the can) -> 0.43″
  5. Drill marked point to measured diameter (0.43″)
  6. Dry-fit the connector, and mark holes for the screws or nuts/bolts (if any)
  7. Drill marked points to the diameter of your connector’s holes (if any)
  8. Cut a piece of copper wire so that when it is in the copper sleeve on the connector, the total length of the copper sleeve and piece of copper is exactly 1.21″ (or as close as you can humanly get to it), and solder it in place.
  9. Mount the connector in the hole in the can and secure it with screws or nuts/bolts (if any). Make sure to mount the heads of the screws or bolts inside the can to reduce antenna obstruction.
Anadigi GPS-R02 DIY GPS Kit

Anadigi GPS-R02 DIY GPS Kit

I got this little “Anadigi GPS-R02 DIY” car gps kit from eBay seller anadigi-hk, and it was mailed direct from Hong Kong.

[Edit: Apparently, the eBay Store and user are no more.]

It came with the GPS Circuit board and a little plastic case for it, an MMCX antenna with magnetic base, and a matching USB cable. The mini-CD came with drivers and a few test and diagnostic programs.

It works great; by the time my computer comes out of hibernation, it already has a signal lock. Talk about bang for the buck!

The receiver is based on the NemeriX NJ1030A [Datasheet – Archive.org], and includes WAAS/EGNOS support.

Markings on the box: (They look like the vitals for the GPS Antenna)

  • Product Model: GPS
  • Center Frequency: 1575.42 +/-3Mhz
  • LNA Gain (Without Cable): 28dB
  • Noise Figure: <1.5dB
  • VSWR: <2.0
  • DC Current: 10mA Max
  • Mounting: Magnetic Base
  • Housing: Black
  • Working Temp: -40*C ~ +85*C
  • Vibration: Sine sweep lg(0-p) 10~50~10Hz each axis
  • Humidity: 95%-100%RH
  • Weatherproof: 100% Weatherproof
  • Cable Length: 3m
  • Voltage: 3-5V
  • Connector: MMCX
  • USB to Serial Converter (onboard): PL-2303* (but the Prolific Windows driver doesn’t like it, errors with Code 10: Cannot start”, according to the Prolific website, that means it’s likely a counterfeit PL-2303 chip. I’ll have to dig out the CD that came with it again.)

Update: How to add GPS to your Eee PC @ beta.ivancover.com – That’s definitely one of the first things I’d do with an Eee.

WRTSL54GS with new antenna

WRTSL54GS with new antenna

I desoldered the old, fixed antenna, and replaced it with a removable antenna.

I tested it out, and it works fine, if not better than the old one. Even though “better” is subjective, signal strength to my other router went from -87dBm to -53dBm, both with -99dBm noise.

Note, I had to mount the antenna in a different hole than the previous one, because there were parts in the way of the antenna mount.

WRTSL54GS Antenna Replacement

WRTSL54GS Antenna Replacement

This photo shows you the location of the solder points for the antenna. The “tip”, or center of the antenna wire, is a little longer than the braided shield, and is soldered to the point marked “Tip”. The shield is just soldered together onto the portion marked “Shield”.

In other words, put it back in like you took it out, and make sure there’s no solder connecting the tip and shield parts. It tends to burn up your chipset. 🙂