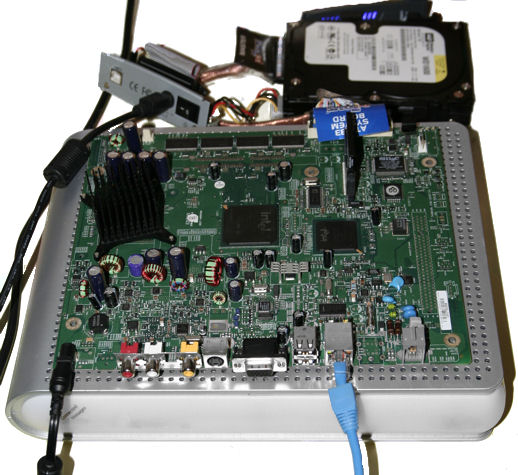
How to make a 5-Bay NAS Box for under $400
What you will need:
- Case: Lian Li PC-Q08 (or a generic case)
- PSU: SeaSonic 350W SS-350ET (or SS-300ET)
- Motherboard/CPU: ASUS E35M1-I (or ASUS E35M1-I Deluxe for an HTPC)
- RAM: Mushkin 997667
Blackline PC3-12800 2x4GB Kit - Hard Disk (OS): WD Scorpio Black 500GB (WD5000BEKT) [PDF] (or any reasonably-priced Scorpio Black)
- Hard Disks (RAID): WD Caviar Green 2TB (WD20EARS) [PDF]
Reasoning:
- Case: If space and/or looks are an issue, get a Lian Li PC-Q08, otherwise just get any generic case that will accept a Mini-ITX board and 5 (or 6, like the PC-Q08) hard drives. I chose the PC-Q08 because it was the only reasonably small, well-ventilated case for Mini-ITX and six 3.5″ drives. (It can also hold a 2.5″ hard drive in a space underneath the 5.25″ bay, as I’ll discuss later)
- Power Supply: I went with the SeaSonic 350W SS-350ET as it was one of the lowest-powered models available (except for the 300W version, which seems to be hard to find), and was from a reputable power supply manufacturer. It supports ATX2.31 and has received the 80 Plus Bronze rating for efficiency. Although it is still overkill for what will be going into this machine, it will allow for adding a graphics card for HTPC use if you decide to go that route either now or in the future.
- Motherboard/CPU: ASUS E35M1-I — If you are going to use your NAS as an HTPC as well, get the Deluxe version. If you’re going all-out for storage capacity, get the regular, non-deluxe one (The regular has 6 SATA ports, Deluxe only has 5)
- RAM: This is a bit of a tricky one, as the motherboard tops out at PC3-8500 (DDR3-1066), single channel. That speed of memory is pretty scarce compared to its faster sibling, PC3-10666, and if nothing else, the PC3-10666 will give you more stability. I’d recommend the Mushkin 996992 Silverline PC3-10666 8GB (2x4GB Kit) as it fills the motherboard up to its maximum for memory without breaking the bank.
I couldn’t get my hands on the Mushkin 996992 memory, and the Mushkin 997667
Blackline PC3-12800 8GB (2x4GB Kit) was actually cheaper than buying two no-name, bottom-of-the-barrel 4GB sticks of PC3-10666 memory.My reasoning for maxing out the memory is that we can use this later on to set up RAM drives (tmpfs) to speed up generic tasks and keep our drives spun down longer to save power. If this isn’t your cup of tea, feel free to grab whatever memory best suits your needs.
- Hard Disk (OS): For power savings, I opted to use a 2.5″ drive for my system disk as it takes substantially less power to operate. I considered a Seagate Momentus XT for the added benefit of having a small amount of SSD storage, but the benchmarks for a server-type machine don’t support spending the extra money. I settled on a WD Scorpio Black 500GB drive (WD5000BEKT)
As an added bonus, the Lian Li case that I discussed earlier has a special hiding spot for a 2.5″ drive so that it won’t take up any of the 3.5″ bays (leaving a whopping 6 3.5″ bays for possible RAID storage! Unfortunately, the motherboard only has 6 SATA ports, though if you really wanted to have a 6-bay RAID, you could always add a SATA board in the PCIe slot.)
- Hard Disks (RAID): For this build, I will be making a RAID out of Western Digital Green 2TB SATA-II drives (WD20EARS).
As of this writing, 2TB drives have the lowest Cost/GB of any 3.5″ drive. 3TB drives, while available, are disproportionately expensive as they are still solely in the realm of the early adopter.
A RAID 5 setup requires (as a bare minimum) 3 drives. You can always add more in later; the RAID array will just expand to accommodate the extra space.
Unfortunately, whereas most Western Digital drives used to have a feature known as TLER (Time-Limited Error Recovery) [Wikipedia] hidden in the firmware, this feature now seems to be only available on Enterprise-level drives. This isn’t a problem for Linux software RAID (mdadm) as it just waits for the drive to complete its recovery, but may be a problem if you plan on using a RAID controller card.