Browsed by
Tag: Electronics Photos

Electronic photos

Acer Aspire 3000 Battery Internals

Acer Aspire 3000 Battery Internals

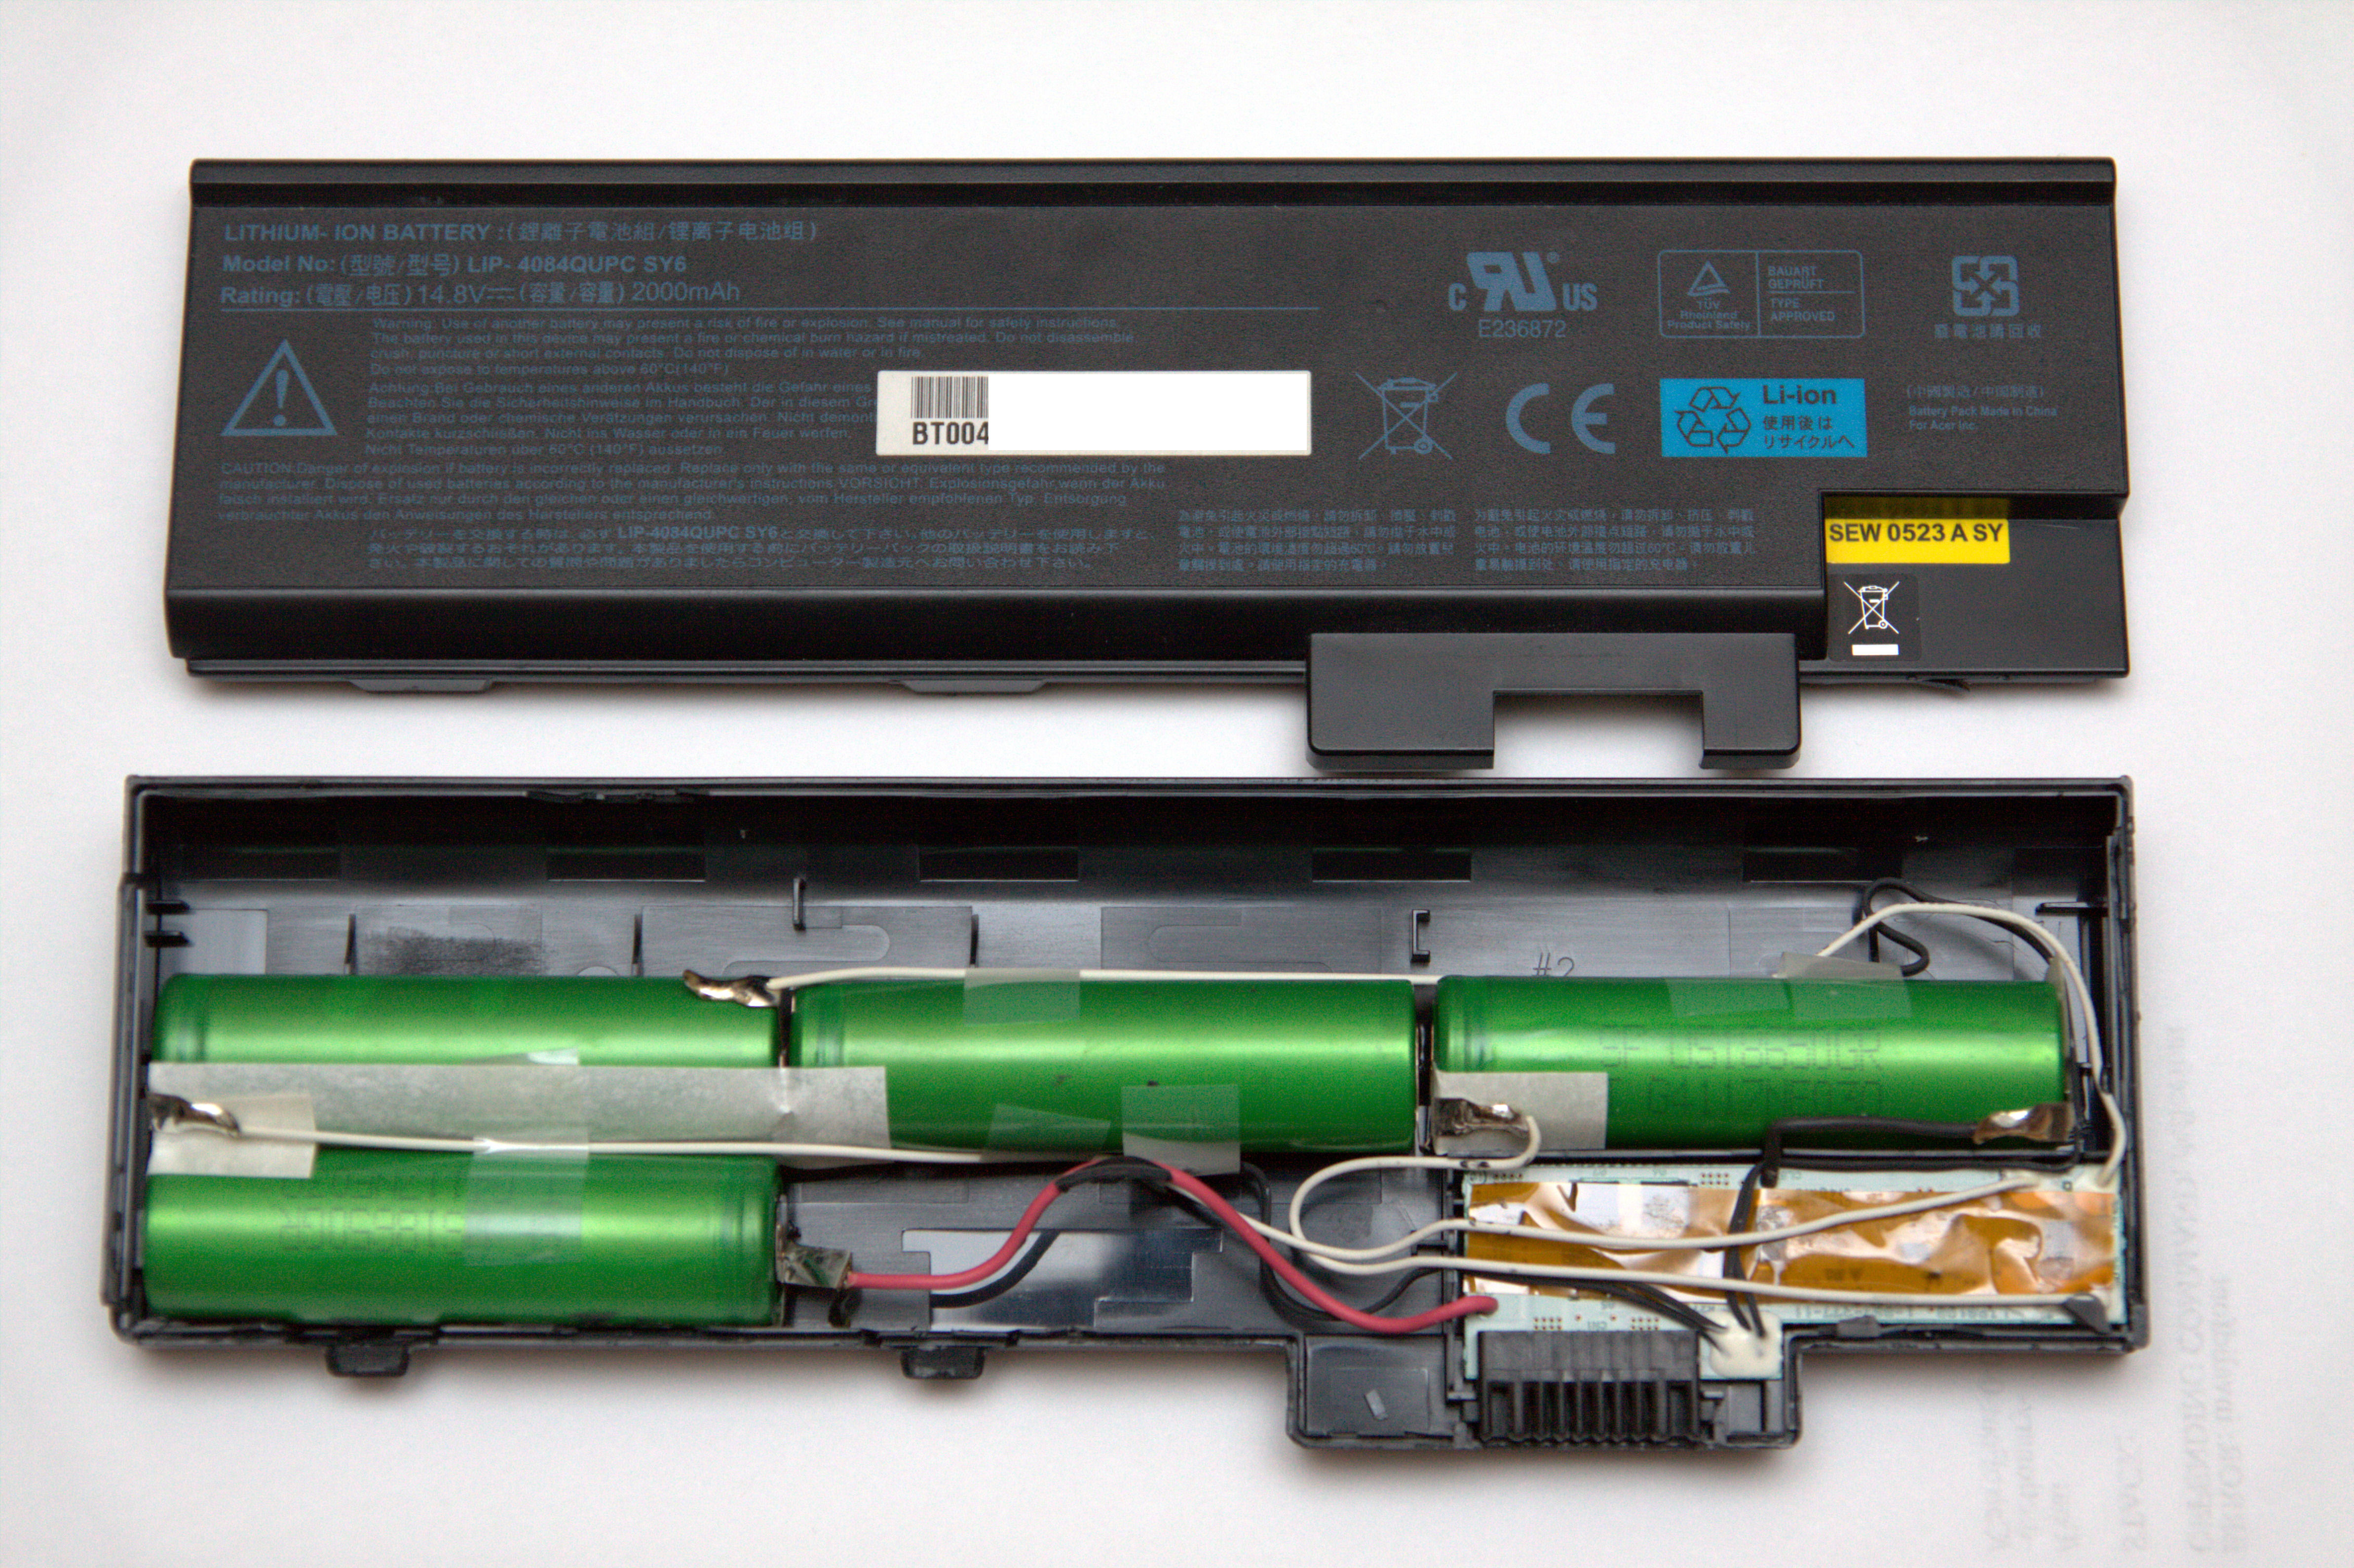
This is a 4-cell battery; before opening it up, I was under the impression that it was a 3-cell.

The charge controller circuit board has “LIP8198” and “1-867-277-11” markings in the silkscreen, along with a strip of Kapton tape over the top of the PCB.

The PCB has +/- going to the 4 cells in series, as well as leads between each cell (probably for measuring voltage at each intermediate point), and two temp sensors: one on the battery closest to the circuit board (the one that the board’s “-” connects to) and one on the next one after that (the middle-most one).

The top side has the following ICs:

  • 3182 5J94 (Looks like a tiny EEPROM/Flash)
  • Two unlabelled 8-pin square ICs marked “04” and “07” on the silkscreen
  • 12AH4 SC SF

The bottom has the following:

  • TI bq80201DBT – “Battery ‘Gas Gauge'” for storing the cycle count?
  • TI bq29312PW – “Two, Three and Four Cell Lithium or Lithium-Polymer Battery Protection AFE”
  • A number of various bare-copper test points 🙂

With a bit of digging, it seems that the bq80201 is used for many different battery makes such as Sanyo, Dell, etc.

Relevant URLs:
Battery EEPROM Works (Software; not affiliated with this site, I have no guarantees of how well it works)
Battery EEPROM Works Forum topic re: B80201 support (Forum Thread)
Would still be nice to actually find a listing of the I2C codes that it uses.

Flambeau Brake Control Demo Kit

Flambeau Brake Control Demo Kit

This is a nice item that I found today at Princess Auto… A grey box hiding on the bottom of a grey shelf. The phrase “Demo Kit” caught my eye, and I had to take a peek inside. I was blown away by the beautiful innards, and I just had to have it. It appears to be made by Flambeau (judging from the company name stamped into the front of the case) and the sticker on the lid says it is a “Brake Control Demonstration Kit”

A metal front panel (as seen in the picture) holds a set of terminals, a voltmeter, large Brake and Overload buttons along with various assisting components, such as Output and Stop lights, Battery test button, power switch, 30A removable fuse, and a panel-mount power plug that fits with the included wallwart.

Underneath the panel (picture attached below), reside a 12 Volt, 5 Amp-Hour SLA (Sealed Lead Acid) battery for powering the kit, and some type of coil or capacitor for powering the ‘overload’ button.

Bonus points for the Output and Stop Light lamps: They’re actually incandescent bulbs, not LEDs. (The power light is an LED though, presumably so you can still see that the unit is not DOA even with a near-flat battery.)

Possible uses: (besides requisite attempts to blow various electrical components up with the Overload button)

  • Portable bench power supply (With an adjustable voltage regulator, and maybe an LCD display for kicks?)
  • (Have any suggestions to add? Sound off in the comments!)

(NB, this doesn’t show up on Princess Auto’s website, as it’s probably a new item. It is SKU #8339715 and $19.99 at the time of posting unfortunately, no longer a stocked item.)

BGMicro Shipment

BGMicro Shipment

I just got my shipment of stuff from BGMicro, including a ton of pinheaders!

I ordered:
1x Velleman 4×4 keypad
1x GI AY-3-8910 Sound Chip (and matching IC socket)
2x LEDs with wire and
connectors
1x 2.5″ stero cable end (Digital Rebel XT Trigger?)
1x Graphical KS0108 Display
and Lots of 1×40 and 2×17 Pinheaders 🙂

QuahogCon 2010 Badge Hardware Hacking – The Beginning

QuahogCon 2010 Badge Hardware Hacking – The Beginning

What I Did:

I took a Cellboost IPR3 that was otherwise destined for a dull life of providing power to an original iPod Shuffle, and converted the cable normally used for charging it into a USB-A-to-2-pin cable using the cable from an old computer case’s hard drive activity light. (Using the cable is a bonus for me, since this cable has been kicking around the junkbox for ages.)

What I Wanted to Do:

I’ll be the first to admit this isn’t so much a ‘hack’ since it’s what the badge was designed to do. I had planned to populate the two 2×16 rows of headers with female headers, then put a piece of perfboard on top either with male headers pointed down or with female headers with double-length legs. The plan was to have something akin to an Arduino shield: Removable, changeable, and replaceable. What you see here is what I got done during the ‘con. I’ll post updates as I progress in badge-hacking now that the ‘con’s over.

About the Cellboost IPR3 Hardware

The Cellboost device contains 1 Li-Ion battery, 5V charging circuitry, and 5V output circuitry; the charging circuitry is the best part, since Li-Ions are a pain to charge otherwise. It includes a USB extension cable (USB-A Male to USB-A Female) that supplies power only (no wires for data) to charge the Cellboost unit with. The unit itself has a USB-A Male (for charging the Li-Ion) and a USB-A Female receptacle on it (for the iPod to plug into).

I acquired a number of these Cellboost devices from Princess Auto; at their last big clearance sale, they were on for (IIRC) $0.79 each. As an aside, I had someone at Quahogcon ask me if I had been to the MIT Garage Sale. Apparently they were sold there as well. Regardless, I still have 4 or 5 in their original packaging to be used to power other projects.

QuahogCon 2010 Loot

QuahogCon 2010 Loot

Here’s what I gained (physically) from QuahogCon 2010 (in no particular order):

(And yes, I would have preferred to photograph against a plain white background, but hey.)

QuahogCon 2010 Humans vs. Zombies Game

QuahogCon 2010 Humans vs. Zombies Game

For those who are curious about some of the particulars of the game, here is what I gleaned from the goings-on at the ‘con (And from a lot of borrowing Jimmie’s badge, and soliciting button-presses from random ‘con attendees).

Spoiler Warning: If you want to try to disassemble, packet-sniff, or otherwise decode the Humans vs Zombies game completely on your own, don’t read on.

Most of this is just a brain dump, it’s not really in any particular order.

  • AFAIK, 5 types of badges existed: Human, Zombie, Cleric, Mussel and Uber. All of these attacks are explained later on in the “giant list ‘o attacks”, with the only exception: Mussels can attack either humans or zombies, and have no unique attack code.
  • I managed to peek at an instruction sheet for a Cleric that was left behind by one of the lovely ladies from the CORE table; however, it held no unexpected information. (Though it was quite nice, and fit with the story in the Attendee pamphlets/schedules
  • Attendees began as humans, and were turned into zombies by attacks from other zombies, or from coaxing from an Uber badge.
  • In the download provided at con-time (q10-pub.tar.gz), there lives a file known as rftest-rx.c. By default, this will list (over UART1), the unencrypted attack type and attack power of whatever attacks it hears.

    rftest-rx.c also has a line commented out that will print the entire packet received. Note that the packet [3] and [4] need to be XOR’d with packet [2] to make any sense. (<– Uber encryption) 
    Example:
    [2] ^ [3] = Attack Type
    [2] ^ [4] = Attack Power

  • From soliciting keypresses, I managed to make a list of the following attacks/powers:
    1,1: Human Defensive
    1,2: Human Normal
    1,3: Human Offensive
    1,6: Human Critical Hit
    2,1: Zombie default attack OR attack with 1 LED of charge
    2,2: Zombie charged to 2 LEDs
    2,3: Zombie charged to 3 LEDs
    2,4: Zombie charged to 4 LEDs
    2,5: Zombie charged to 5 LEDs
    3,20: Cleric Heal Humans
    3,50: Cleric Heal Humans (Critical Hit)
    4,20: (Really? 4:20? *groan*) Cleric Turn Undead
    4,50: Cleric Turn Undead (Critical Hit)
    99,5: Uber ???
    99,6: Uber Epic Win
  • During his talk on 802.15.4 security regarding replay attacks, Josh Wright briefly showed the packets that he managed to sniff from an Uber badge, which turned anyone in range into any of the 6 modes (the 5 discussed above, and also ‘dead’.) He then proceeded to execute a replay attack on the audience, and it apparently hit @innismir (Ben Jackson) in the next room during his presentation. Twitter thread: [1][2][2.5][3][4][5]

I’ll add more here if/when I think of it, and once I start sniffing in earnest. I spent the entire ‘Con trying to reinvent the wheel… Apparently all the good stuff was in the q10-pub/firmware directory… I had been tweaking code in the q10-pub/tests directory. I still managed to sniff the above code, however I didn’t get transmit working in time to pwn the closing ceremonies. Totally looking forward to pwning whatever badge they throw at us next year, though.

Sparkfun.com Stuff: Arduino Shield, Breadboarding Supplies, etc

Sparkfun.com Stuff: Arduino Shield, Breadboarding Supplies, etc

My latest Sparkfun.com order.

For PIC programming:
BOB-00193 (1): Adapter board for Microchip ICD and ICD2

For (hopefully) adding some IR functionality to my QuahogCon badge:
COM-09349 (4): Infrared LED – 950nm

For parts:
DEV-00348 (2): Olimex Carrier Board for OKI ML67Q5003

For prototyping on the Arduino (and otherwise generic prototyping):
DEV-07914 (1): Arduino ProtoShield Kit
PRT-07915 (1): Breadboard Mini Self-Adhesive (For Protoshield Kit)
PRT-09567 (1) : Breadboard Clear Self-Adhesive (For other breadboarding)
PRT-00124 (1): Jumper Wire Kit
PRT-08430 (1): Jumper Wires Premium 6″ F/F Pack of 10
PRT-08431 (1): Jumper Wires Premium 6″ M/M Pack of 10
PRT-09140 (1): Jumper Wires Premium 6″ M/F Pack of 10

When Good Caps Go Bad

When Good Caps Go Bad

When this 0.22 Farad, 2.5 Volt super capacitor’s time came, it didn’t go easily. It put up a fight: It let all of its electrolyte out through its bottom and onto the PCB, leaving a hard, crusty layer, and a capacitor that doesn’t work.

It is typically used in place of a standard “battery backup”, and possibly to retain RAM contents between short resets.

Part Specs:
Manufacturer: Cooper Bussmann
Type: PowerStor Aerogel Type B, 0.22F 2.5V Capacitor

Digikey Part Number

Anadigi GPS-R02 DIY GPS Kit

Anadigi GPS-R02 DIY GPS Kit

I got this little “Anadigi GPS-R02 DIY” car gps kit from eBay seller anadigi-hk, and it was mailed direct from Hong Kong.

[Edit: Apparently, the eBay Store and user are no more.]

It came with the GPS Circuit board and a little plastic case for it, an MMCX antenna with magnetic base, and a matching USB cable. The mini-CD came with drivers and a few test and diagnostic programs.

It works great; by the time my computer comes out of hibernation, it already has a signal lock. Talk about bang for the buck!

The receiver is based on the NemeriX NJ1030A [Datasheet – Archive.org], and includes WAAS/EGNOS support.

Markings on the box: (They look like the vitals for the GPS Antenna)

  • Product Model: GPS
  • Center Frequency: 1575.42 +/-3Mhz
  • LNA Gain (Without Cable): 28dB
  • Noise Figure: <1.5dB
  • VSWR: <2.0
  • DC Current: 10mA Max
  • Mounting: Magnetic Base
  • Housing: Black
  • Working Temp: -40*C ~ +85*C
  • Vibration: Sine sweep lg(0-p) 10~50~10Hz each axis
  • Humidity: 95%-100%RH
  • Weatherproof: 100% Weatherproof
  • Cable Length: 3m
  • Voltage: 3-5V
  • Connector: MMCX
  • USB to Serial Converter (onboard): PL-2303* (but the Prolific Windows driver doesn’t like it, errors with Code 10: Cannot start”, according to the Prolific website, that means it’s likely a counterfeit PL-2303 chip. I’ll have to dig out the CD that came with it again.)

Update: How to add GPS to your Eee PC @ beta.ivancover.com – That’s definitely one of the first things I’d do with an Eee.